
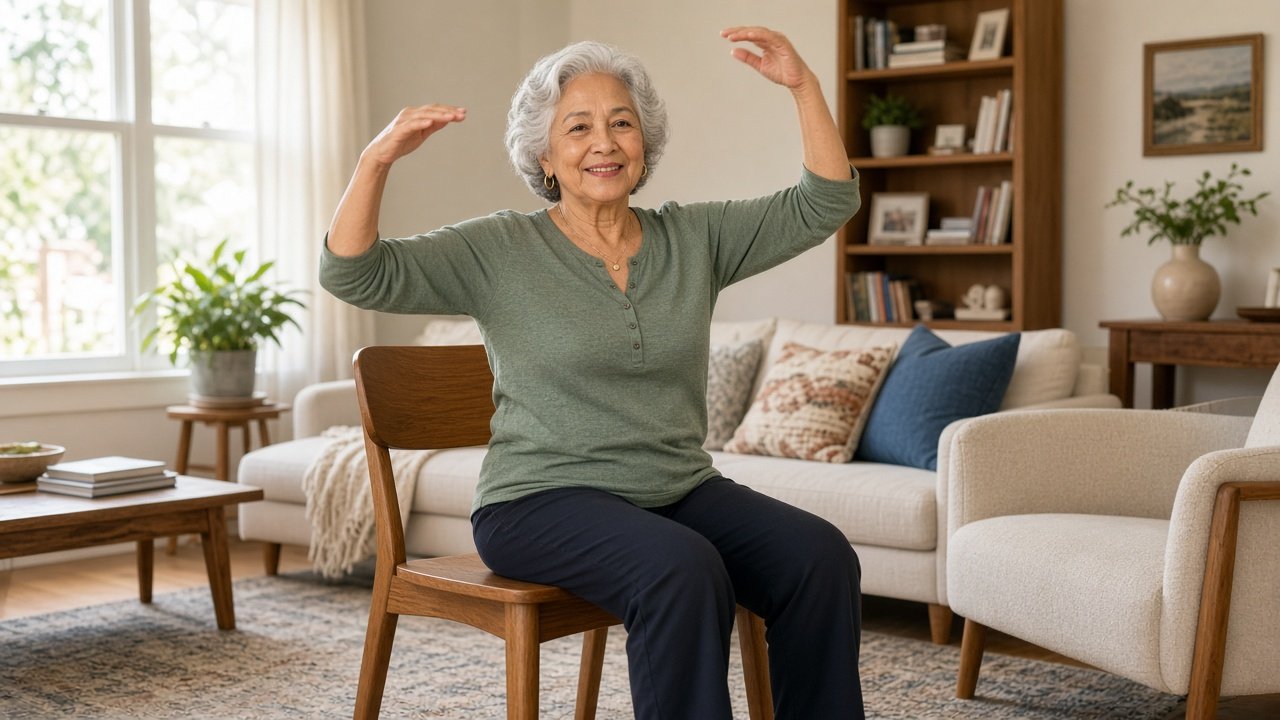
After 60, staying strong does not always mean standing for a long workout. Joints can feel stiff in the morning. Balance may feel less automatic. Some days, getting down on the floor—and back up—simply feels like too much. That is where chair exercises for seniors shine: they let you train strength, mobility, and circulation while staying comfortably seated or using the chair as a safe base.
Chair workouts are not a “lesser” option. They are a smart, practical way to keep moving when standing routines feel intimidating, when recovery after illness is still underway, or when you want a low-impact session you can finish in your living room. Many older adults find that a sturdy dining chair becomes the most useful piece of “equipment” they own.
Below you will find eight chair exercises designed for people after 60 who want clearer legs, steadier posture, and more confidence standing up from a seat. Each move includes why it matters, how to do it, and what you can expect over time—plus a simple weekly routine you can start this week.
Important: These ideas are educational, not a personal medical prescription. If you have had recent surgery, uncontrolled blood pressure, chest pain with effort, severe osteoporosis, dizziness when sitting or standing, or you use a wheelchair or walker for most of the day, ask your clinician or physical therapist which moves are appropriate for you before you begin.
Why Chair Exercises Matter After 60
As we age, muscle mass and power tend to decline unless we challenge them. That loss—often discussed with sarcopenia—shows up first in everyday tasks: rising from a sofa, climbing a few steps, carrying groceries, or turning to look over a shoulder while seated.
Mobility limits also stack up. Stiffness in the hips, ankles, and upper back can make standing workouts feel unstable. Fear of falling can quietly shrink activity further. A chair-based routine short-circuits that cycle. You still load the legs, wake up the core, and open the chest—without asking your balance system to do everything at once.
Chair exercises at home for seniors also remove common barriers: no gym commute, no special machines, and no need to get on the floor. Fifteen to twenty-five focused minutes, a few times a week, can support independence in ways that matter more than any perfect workout plan.
Benefits of Chair Exercises for Older Adults
Consistent seated and sit-to-stand training can help with:
- Leg and hip strength for safer standing and walking
- Upper-body endurance for reaching, carrying, and posture
- Joint mobility through the neck, shoulders, spine, hips, and ankles
- Circulation by gently pumping blood through large muscle groups
- Confidence with transfers—getting in and out of chairs, cars, and beds
- Habit building on days when a floor workout feels unrealistic
None of these benefits require extreme effort. Controlled repetitions, steady breathing, and a chair that does not slide are enough to start.
Safety and Setup Before You Begin
A few minutes of setup protects your joints and your confidence.
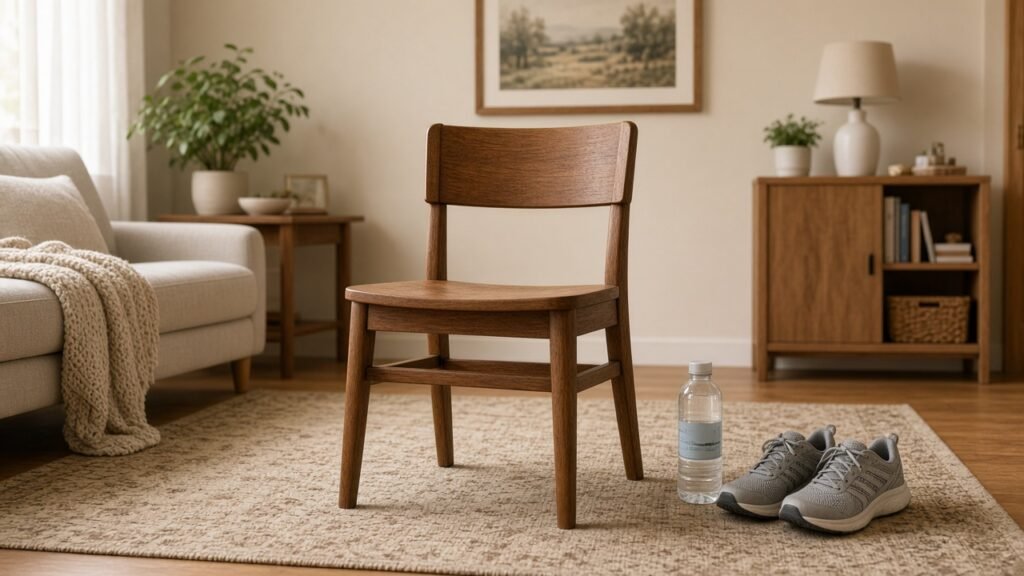
- Choose a sturdy chair — Prefer a firm seat without wheels. An armless dining chair works well for most moves; keep a second chair or wall nearby if you want light hand support for sit-to-stand.
- Plant your feet — Sit tall toward the front half of the seat when needed. Keep feet flat, roughly hip-width apart, toes pointing forward.
- Wear supportive shoes — Non-slip soles help if you will stand. Bare feet on a grippy surface can work for seated-only days.
- Clear space — Give yourself room to extend a leg forward and open the arms to the side without hitting furniture.
- Keep water nearby — Short sips between sets are fine.
- Ask a clinician when needed — Especially after a fall, fracture, heart event, or new medication that affects balance or blood pressure.
Move slowly. Mild muscle effort is welcome; sharp joint pain, spinning dizziness, chest pressure, or sudden weakness are signals to stop and seek care.
Short Warm-Up (3–4 Minutes)
Warm tissue moves more comfortably. Stay seated for this quick primer.
Seated neck and shoulder rolls
Gently tip one ear toward the shoulder, then the other. Roll the shoulders up, back, and down 5 times. Keep the jaw soft.
Ankle circles
Lift one foot slightly and draw slow circles 5 each direction, then switch feet. This wakes the calves and ankles for heel raises later.
Seated march
Hold the sides of the chair lightly if you like. Lift one knee, then the other, in an easy marching rhythm for 30–45 seconds. Breathe steadily.
You are ready for the main set when your breathing feels calm and your shoulders feel a little looser.
The 8 Chair Exercises
Aim for quality over speed. Rest 30–60 seconds between exercises if you need it. Beginners can start with the lower end of each rep range.
1. Sit-to-Stand (Chair Rise)
Why it matters after 60
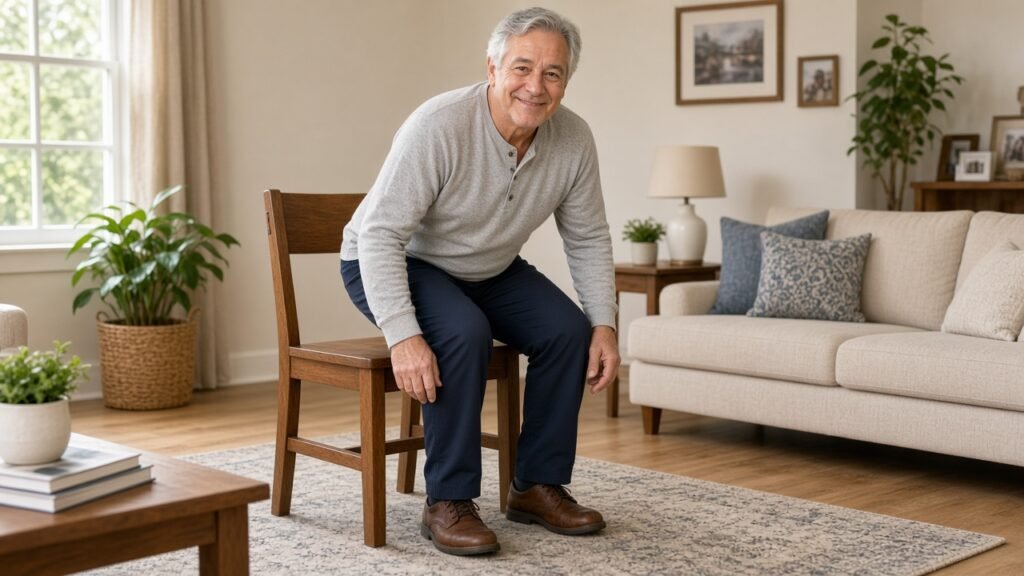
Rising from a chair is one of the most important strength skills in daily life. Stronger thighs and hips make standing safer and reduce the urge to throw yourself upward with momentum.
How to do it
- Sit near the front edge of a sturdy chair, feet flat, hip-width apart.
- Lean slightly forward from the hips (think “nose over toes”).
- Push through your heels and stand with control.
- Pause tall for a second, then sit back down slowly.
- Repeat 5–8 times.
Use your hands on the chair only as much as you need. Over weeks, try a lighter touch so the legs do more of the work.
Benefits
- Builds functional leg strength for stairs and transfers
- Reinforces safe standing mechanics
- Translates directly to independence at home
2. Seated March
Why it matters after 60
Marching in the chair raises the heart rate gently, challenges hip flexors, and rehearses the stepping pattern used in walking—without requiring a long stroll first.
How to do it
- Sit tall with feet flat.
- Lift one knee toward the ceiling, then lower with control.
- Alternate sides in a smooth rhythm.
- Continue for 30–60 seconds, or 10–12 lifts per leg.
Keep the shoulders relaxed. If lifting the knee high feels hard, a smaller march still counts.
Benefits
- Supports hip mobility and walking stamina
- Encourages deeper breathing
- Easy to scale up or down on low-energy days
3. Seated Leg Extension
Why it matters after 60
Straightening the knee against gravity strengthens the quadriceps—the muscles that help you stand, climb a curb, and control sitting down.
How to do it
- Sit tall with your back supported or hovering slightly away from the chair back.
- Extend one leg until the knee is nearly straight; flex the foot so toes point up.
- Hold 2–3 seconds, then lower slowly.
- Complete 8–10 reps, then switch legs.
Avoid slamming the knee into a hard lock. Soften the end range if you have a history of knee irritation, and check with a clinician if extensions provoke sharp pain.
Benefits
- Strengthens the front of the thigh
- Improves control when lowering into a chair
- Supports knee stability for daily walking
4. Seated Heel Raise (Calf Pump)
Why it matters after 60
Strong calves help push-off during walking and support circulation in the lower legs. Heel raises are simple, joint-friendly, and easy to feel working.
How to do it
- Sit tall with both feet flat.
- Press through the balls of the feet and lift both heels as high as comfortable.
- Pause briefly, then lower heels with control.
- Repeat 10–12 times.
For a little more challenge later, try the same pattern while standing behind the chair with light hand support—only if you feel steady.
Benefits
- Builds ankle strength for walking
- Encourages blood flow in the lower legs
- Complements balance and fall-prevention habits
5. Seated Row (Band or Towel)
Why it matters after 60
Rounded shoulders and a forward head posture are common with desk time and phone use. A rowing motion strengthens the upper back muscles that help you sit and stand taller.
How to do it
- Hold a light resistance band or a hand towel at chest height, elbows bent.
- Imagine squeezing a pencil between your shoulder blades as you draw the elbows back.
- Pause, then return forward slowly.
- Perform 8–12 controlled reps.
Keep the wrists comfortable and the neck long—do not shrug toward the ears. No band? Press your palms together at chest height and pull the elbows back as if stretching an imaginary band.
Benefits
- Supports upright posture
- Counters desk and sofa rounding
- Builds pulling strength for doors and daily tasks
6. Seated Biceps Curl
Why it matters after 60
Arm strength helps with grocery bags, grandchildren, and getting dressed. Curls are easy to learn and pair well with a water bottle or light household weight in each hand.
How to do it
- Sit tall, arms by your sides, palms facing forward, light weights or water bottles in hand (or fists if you are starting unweighted).
- Bend the elbows to lift toward the shoulders.
- Lower slowly to a count of three.
- Complete 8–12 reps.
Brace lightly through the midsection so you do not rock or swing. If one arm is recovering from injury, train the comfortable side and ask your clinician about the other.
Benefits
- Strengthens the front of the upper arms
- Improves carrying capacity
- Easy progression: add a slightly heavier bottle over time
7. Seated Torso Twist
Why it matters after 60
Rotating the spine helps with looking over your shoulder in the car, reaching sideways in the kitchen, and keeping the mid-back from feeling “stuck.”
How to do it
- Sit tall near the front of the chair, feet flat.
- Place hands on opposite shoulders or hold a light ball/pillow at the chest.
- Exhale and rotate the ribs gently to one side; keep hips facing forward.
- Return to center, then rotate the other way.
- Perform 6–8 slow twists each side.
Move within a pain-free range. People with osteoporosis or spinal concerns should ask their clinician which rotation limits apply to them.
Benefits
- Encourages thoracic mobility
- Supports everyday turning tasks
- Pairs well with breathing and posture work
8. Seated Side Bend + Cool-Down Stretch
Why it matters after 60
Side bending opens the ribs and lengthens the sides of the trunk after strength work. Finishing with a stretch helps you leave the session feeling taller, not tighter.
How to do it (side bend)
- Sit tall, right hand on the chair seat for light support.
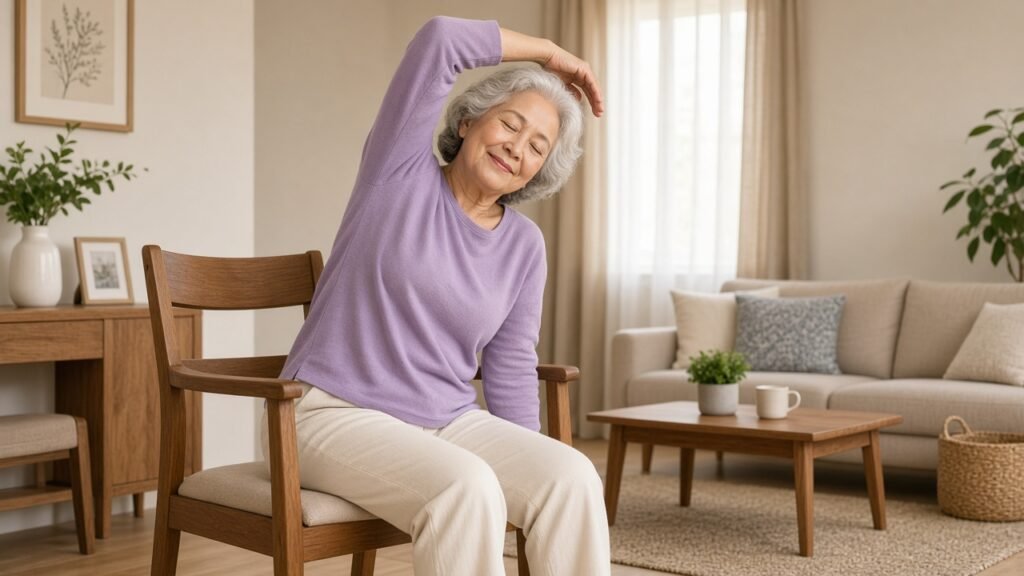
- Reach the left arm overhead and tip softly to the right until you feel a gentle lengthening.
- Hold 15–20 seconds, breathing easily, then switch sides.
- Repeat 2 times per side.
Optional cool-down stretch (seated figure-four or hamstring reach)
Cross one ankle over the opposite knee only if hips allow, and hinge forward slightly for a hip stretch—or keep both feet down and hinge from the hips toward a long spine with a soft knee for a gentle hamstring lengthening. Hold 20–30 seconds each side. Never bounce.
Benefits
- Releases side-body and hip tension
- Reinforces calm breathing after work sets
- Marks a clear end to the session so you are more likely to return tomorrow
Sample Weekly Routine: How Often to Practice
You do not need to train hard every day. Consistency beats intensity for most adults after 60.
Beginner plan (weeks 1–2)
- 2–3 days per week (for example Monday, Wednesday, Friday)
- Warm-up + all 8 exercises
- Lower rep ranges
- Total time: about 15–20 minutes
Steady plan (weeks 3+)
- 3 days per week
- Warm-up + full set; add a second round of sit-to-stand, leg extension, and seated row if you feel recovered
- Total time: about 20–25 minutes
On off days: a short seated march and ankle circles (3–5 minutes) keep the habit alive without fatigue.
Track how sit-to-stand feels. When eight reps become easy with little hand support, you are progressing—even if the weights in your curls are still light.
Safety Reminders: When to Stop and See a Clinician
Stop the session and seek medical advice if you notice:
- Chest pain, pressure, or unusual shortness of breath
- Sudden dizziness, fainting, or a spinning room
- Sharp joint pain (different from mild muscle effort)
- New numbness, weakness on one side, or severe headache
- Swelling, redness, or heat in a calf that worries you
Also check in with a professional before progressing if you are recovering from joint replacement, managing advanced arthritis, taking blood thinners after a fall, or living with significant balance impairment. A physical therapist can tailor chair progressions so you stay challenged without feeling unsafe.
Practical Takeaways
- A sturdy, armless, no-wheel chair is enough to start building strength at home after 60.
- Combine sit-to-stand and seated marches (legs) with rows and curls (upper body) and twists/side bends (mobility).
- Practice 2–3 times per week for 15–25 minutes; warm up first.
- Use hand support as needed, then gradually do less with the arms and more with the legs.
- Responsible progress is slow and steady—not a miracle makeover.
A Soft Close: Strength You Can Practice From a Chair
Getting stronger after 60 rarely looks like a highlight reel. It looks like standing from breakfast with less effort. It looks like turning to greet a neighbor without a stiff mid-back. It looks like choosing a short chair session on a low-motivation day instead of skipping movement entirely.
These eight chair exercises for seniors are meant to meet you where you are—at home, with clear steps, and with respect for your joints. Start with the warm-up and two or three moves if a full routine feels long. Add the rest as your confidence grows. Your future self—climbing a step, carrying a bag, rising from a favorite chair—will thank you for the minutes you invested today.
If this guide helped, explore other Grow Health Life mobility pieces on balance practice and leg strength, and always bring personal health questions to your own clinician who knows your history.